Home cleaning, organization and lifestyle tips
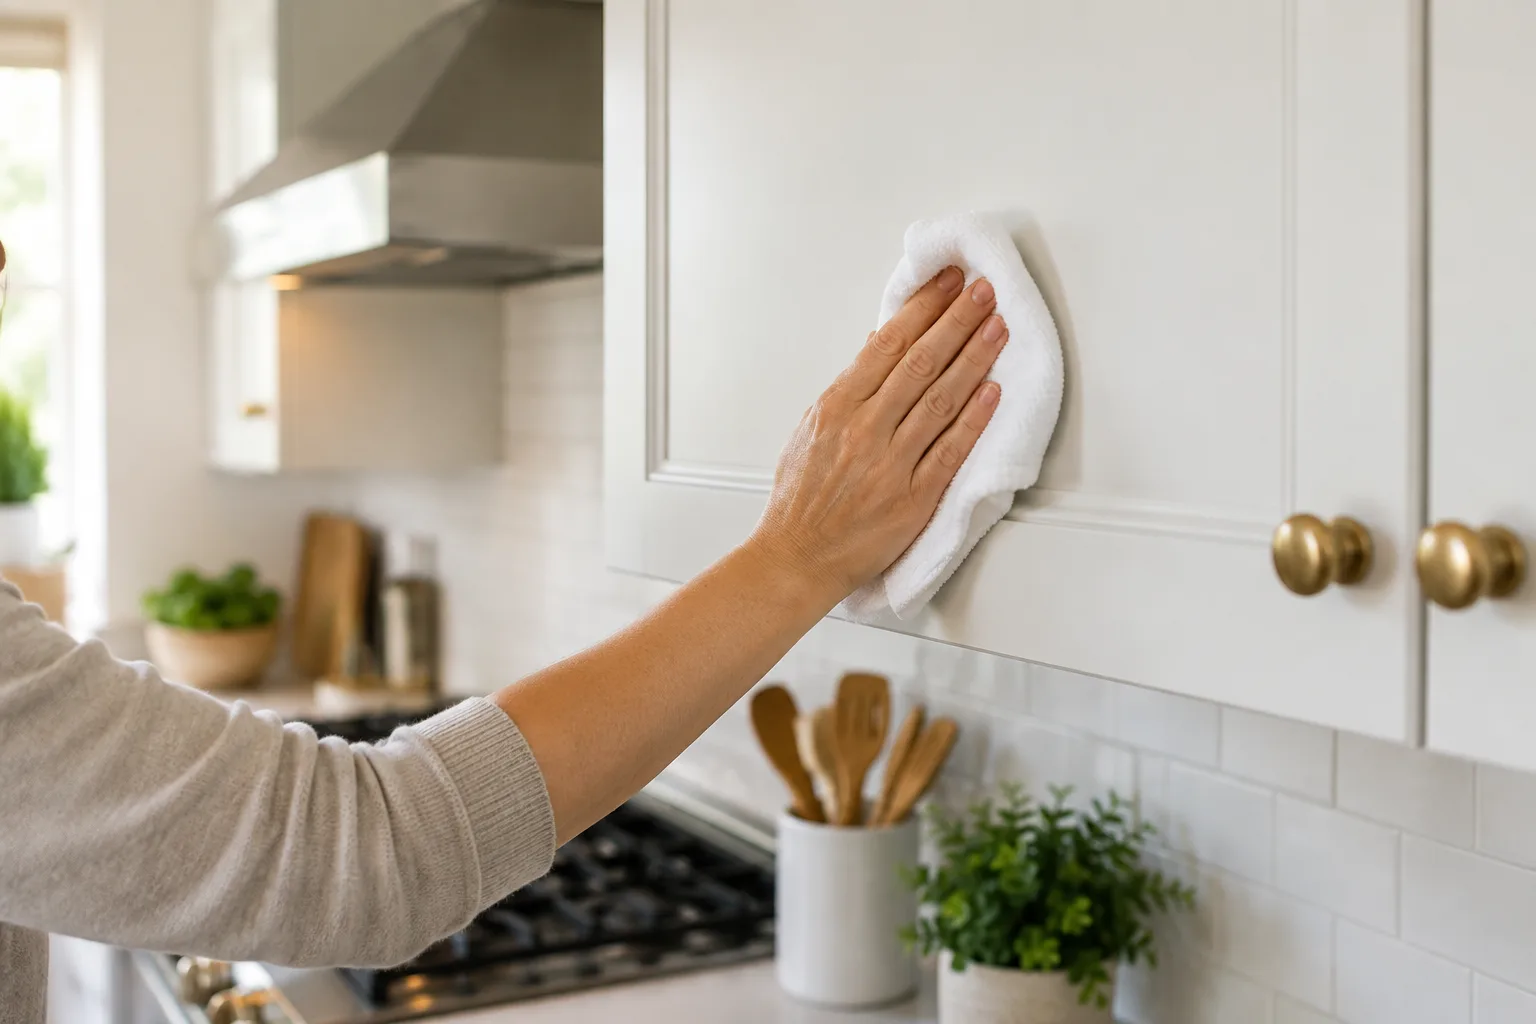
Short answer: use a soft lint-free or microfiber cloth that is only lightly damp, start with warm water, and use a mild cleaner only when the cabinet maker permits it. Work on a small area, then dry it immediately with a second clean cloth.
Kitchen grease is mixed with dust and moisture, but the finish matters more than the “strongest” remedy. The careful surface-first approach in our safe washing-machine cleaning guide and home water-saving guide is useful here too.
Identify the finish and test first
Painted wood, stained wood, laminate, thermofoil and high-gloss fronts do not all tolerate the same products. Read the maker’s care information when available. Test any cleaner on a hidden inside edge, wait for it to dry, and stop if color, sheen or texture changes.
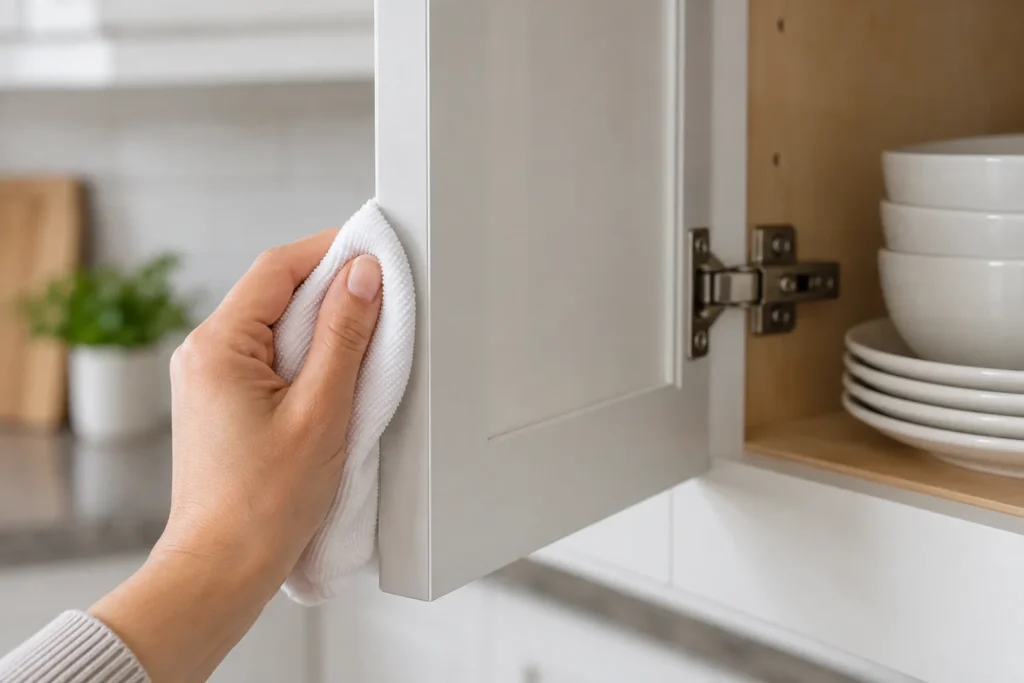
A safe routine for light grease
- Dust the door and handle with a clean dry cloth.
- Dampen a soft cloth with warm water and wring it out well.
- For residue, use a small amount of mild dishwashing liquid in water only if the cabinet instructions allow it.
- Wipe gently in the direction of the grain or finish, remove any residue with a clean damp cloth, then dry immediately.
Do not spray liquid directly on doors, seams, hinges or glass inserts. Moisture can enter edges and joints.
Stubborn spots, grooves and hardware
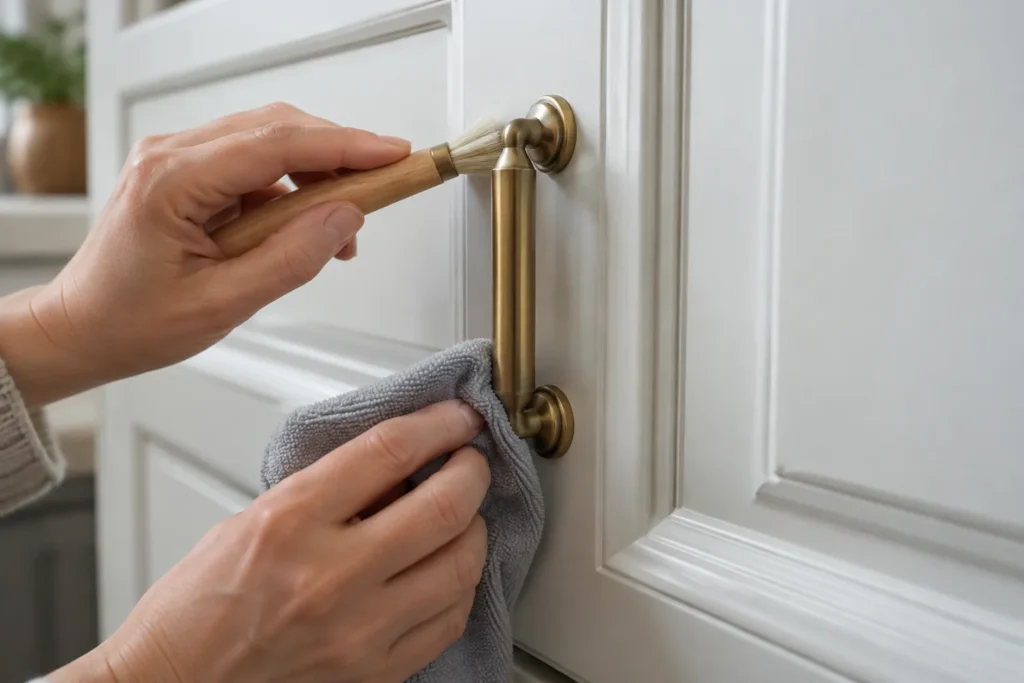
Use a compatible nonabrasive cabinet cleaner only as directed by its label and the cabinet maker. Apply it to the cloth, never flood the surface. A soft detailing brush can reach carved details and the base of handles; wipe and dry the area afterward.
What not to use
- Abrasive powders, scouring pads, steel wool or rough sponges.
- Bleach, ammonia, acetone, paint thinner, strong solvents or chemical mixtures.
- Oven cleaner, which can damage cabinet finishes.
- Excess water or vigorous rubbing, especially on high-gloss, laminate and wood fronts.
Repeated stickiness, lifting edges, swelling, discoloration or a failed finish is a repair issue rather than a signal to use a stronger cleaner. Ask the cabinet maker or a qualified finisher for advice.
Prevent buildup
Run the extractor while cooking, clean its filters as directed in our range hood cleaning guide, and wipe nearby cabinet fronts regularly with a dry or lightly damp cloth. Deal with spills promptly and keep wet dish towels off cabinet doors. Consistent drying also limits moisture problems discussed in safe bathroom mold-cleaning guide.

Sources
- MasterBrand: care and cleaning
- KraftMaid: cabinet care
- Wood-Mode: care instructions
Choose the right method for the cabinet material
Use the cabinet maker’s instructions as the final authority. A soft cotton cloth may suit stained wood, while laminate and high-gloss fronts are better protected with clean microfiber. If the finish is unknown, warm water on a well-wrung cloth is the conservative starting point. Avoid cleaning in strong direct sunlight, which can make a surface dry before you can wipe away residue.
A practical order for a sticky area
- Remove dust first so it cannot scratch while you wipe.
- Clean a small section with a lightly damp cloth; do not leave solution sitting.
- For a mark that remains, use the manufacturer-approved nonabrasive product on the cloth and repeat the patch test.
- Wipe away residue, dry the section, then move to the next area.
When cleaning should stop
Do not keep rubbing a spot that changes color, turns dull or feels tacky. Swollen edges, peeling foil, cracked paint and loose veneer need a cabinet repair professional or the manufacturer’s advice. A stronger product can make a small finish problem permanent.
Quick checklist
- Soft clean cloths only; use a fresh cloth for drying.
- Test first, especially on a new cleaner or an unfamiliar finish.
- Keep liquid away from joints, hinges, edges and glass mullions.
- Run the hood while cooking and wipe splatters before they cure.