Home cleaning, organization and lifestyle tips
I remember my first attempt at hanging a shelf. I eyeballed it, and it ended up with a noticeable tilt to the right. Books kept sliding off, and guests thought it was some kind of design statement. That’s when I learned: without a level and proper markings, don’t even start. I spent half an hour redoing it, but now every shelf I hang is perfectly straight.
The good news? Anyone can hang a shelf straight, even with zero experience. The bad news? Skip the prep work, and you’ll end up with a crooked mess.
What you’ll need
| Tool/Material | Purpose |
|---|---|
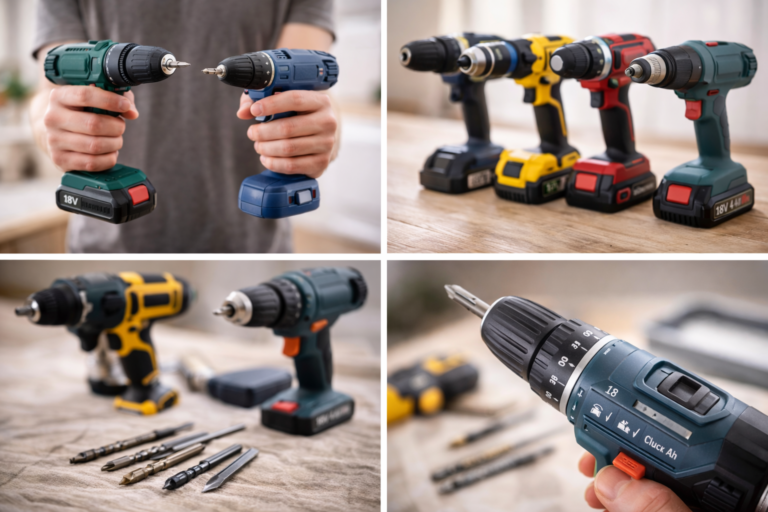
| Drill or drill driver | To make the holes |
| Drill bits (for your wall type) | For concrete, brick, or drywall |
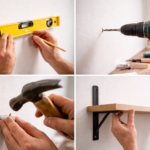
| Bubble level or laser level | To check horizontal alignment |
| Tape measure and pencil | For marking |
| Wall anchors and screws | Hardware (often comes with the shelf) |
| Screwdriver or drill | To drive the screws |
Step-by-step guide
Step 1. Pick the spot and height
Hold the shelf up to the wall and mark its future position with a pencil. Make sure it’s not in the way and fits the room. Pick a height that works — not so low you bump your head, not so high you can’t reach it.
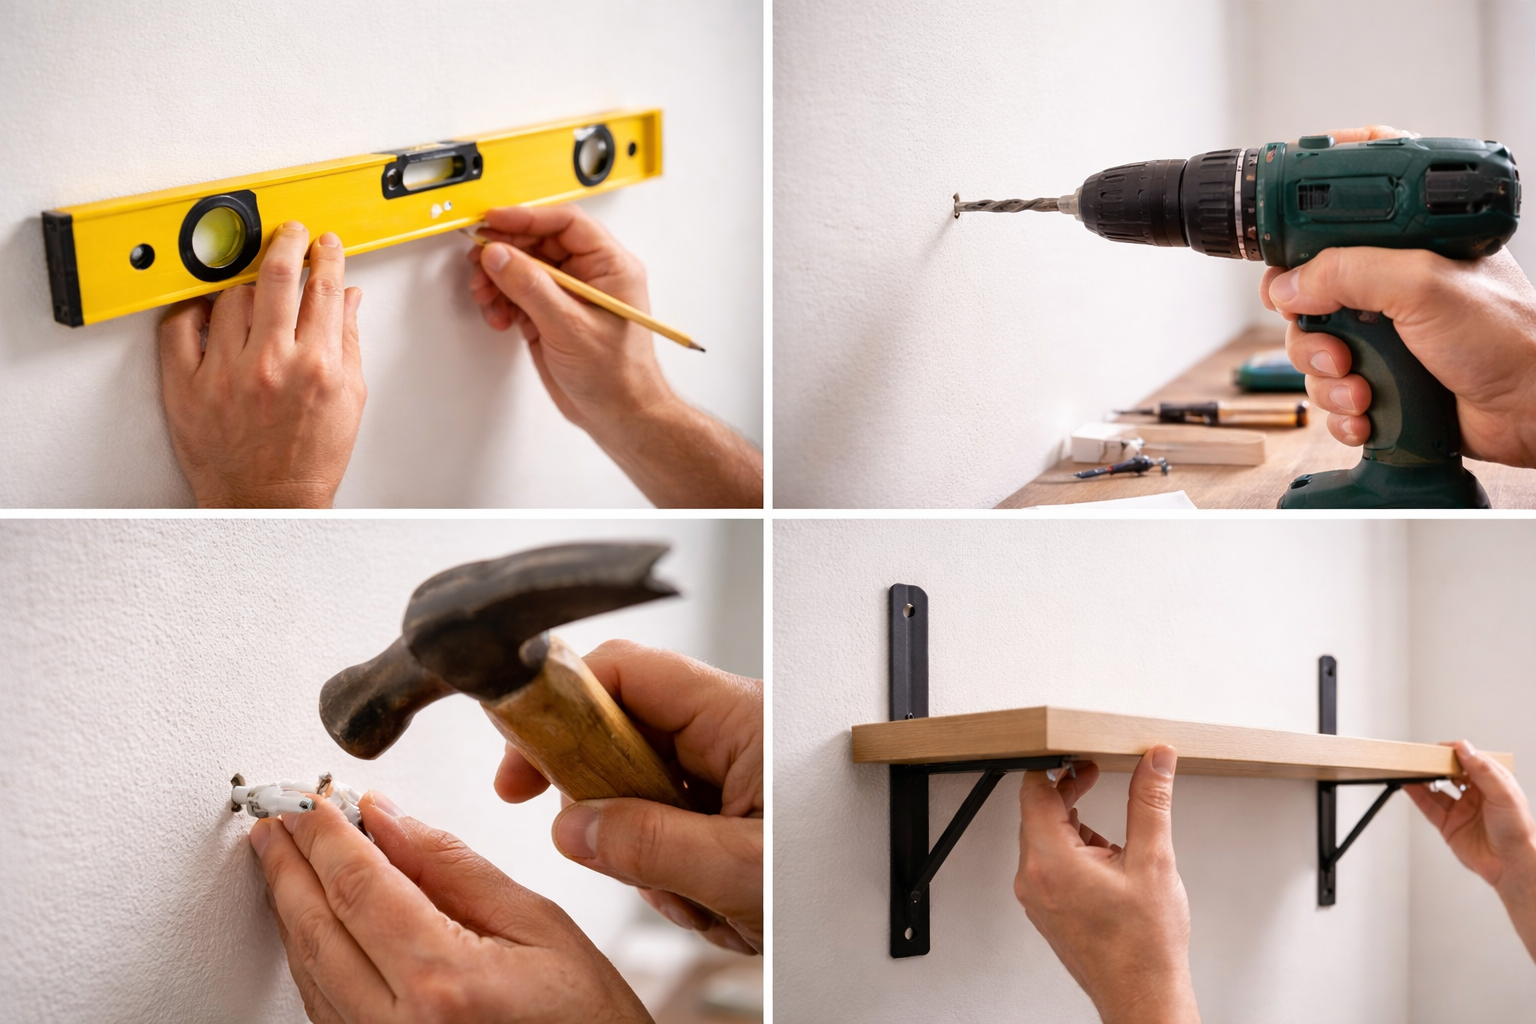
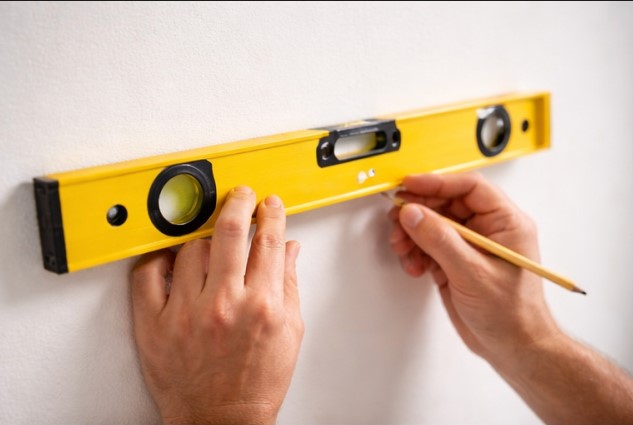
Step 2. Use a level for marking
Hold your level against the wall where the top of the shelf will go. Draw a straight horizontal line. Even if the wall looks level, the level might tell you otherwise. A laser level speeds things up, but a standard bubble level works just fine.
Step 3. Mark the mounting holes
Hold the shelf brackets or mounting rail against the wall along your marked line. Use a pencil to mark where the holes go through the bracket. Make sure the brackets are level and spaced evenly.
Step 4. Drill the holes
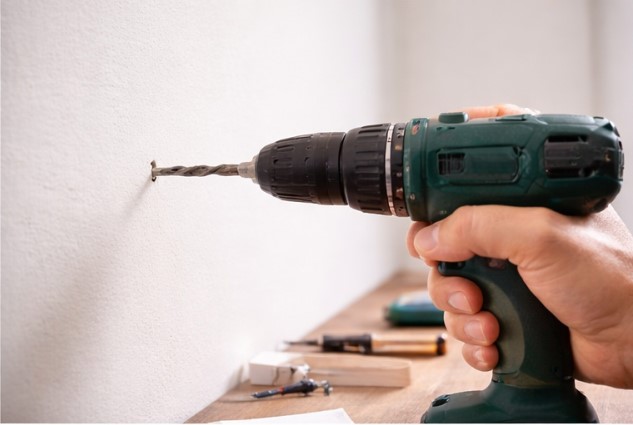
Pick a drill bit that matches your wall type and anchor size:
- Concrete or brick: Use a hammer drill or rotary hammer with a masonry bit.
- Drywall: A regular drill works, but you’ll need special anchors (toggle bolts or Molly bolts) that expand behind the wall.
- Wood: Just a standard wood bit.
Drill the holes slightly deeper than the anchor length. Vacuum out the dust.
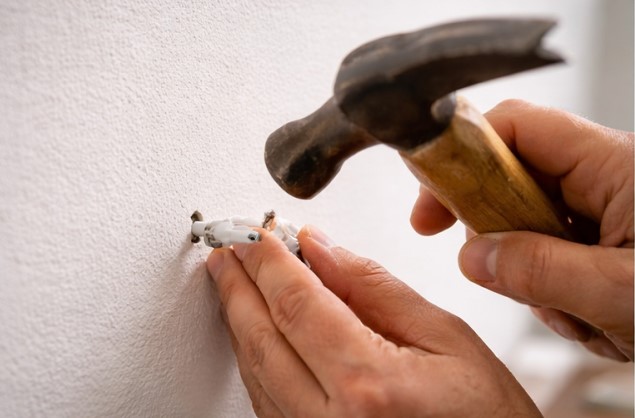
Step 5. Insert the anchors
Gently tap the anchors into the holes with a hammer. They should fit snugly, not wobble. For drywall, use the special anchors that screw in.
Step 6. Attach the brackets
Hold the brackets up to the wall and drive in the screws. Don’t tighten them all the way at first — leave a little wiggle room.
Step 7. Check with the level again
Put your level on the mounted brackets. If they’re slightly off, you can loosen the screws and adjust.
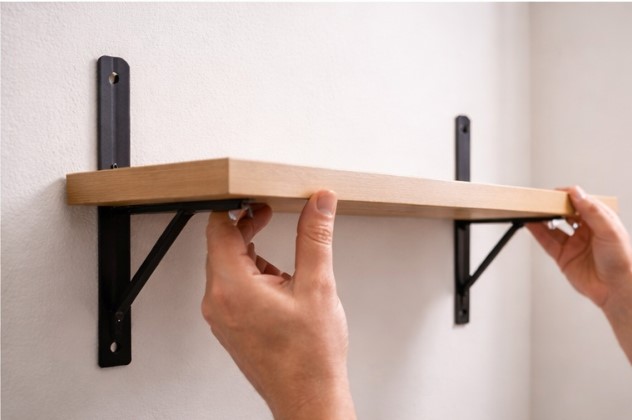
Step 8. Install the shelf
Set the shelf onto the brackets. They usually lock in place with grooves or extra screws. Make sure it’s solid and doesn’t wobble.
Anchor selection guide
| Wall Type | Anchor Type | Notes |
|---|---|---|
| Concrete, brick | Standard plastic anchors with screws | Drill with hammer drill |
| Drywall | Toggle bolts, Molly bolts, snap toggles | Don’t hang heavy shelves without these |
| Wood | Wood screws | Can go directly in, no anchors needed |
| Cinder block | Masonry anchors (sleeve or wedge) | Use a masonry bit |
What not to do
- ❌ Don’t drill without a level. Even pros check their work.
- ❌ Don’t use short or flimsy anchors for heavy shelves — they’ll pull out.
- ❌ Don’t hang a heavy shelf on drywall without proper anchors — it’s coming down.
- ❌ Don’t hammer an anchor into a hole that’s too small — you’ll damage the wall.
- ❌ Don’t drill where wires might be hiding — use a stud finder with wire detection.
How to avoid mistakes
- Before drilling, make sure there are no wires or pipes in the wall. Use a detector or check your apartment plans.
- Always mark with a pencil — don’t trust your eyes.
- For heavy shelves, use brackets with multiple mounting points.
- Check the screws now and then — they can loosen over time.
The bottom line
A straight shelf comes down to good marking, precise drilling, and the right anchors. Spend an extra 10 minutes checking with a level, and your shelf will look professionally installed.
Tested on my own walls: since I started using a level at every step, my shelves stopped being “quirky design features.”
Ever hung a shelf so crooked it became a family joke? Share your story in the comments!