Home cleaning, organization and lifestyle tips

I still remember my first attempt at repotting. I just shoved the plant into a bigger pot, threw in whatever bag of soil I had, and packed it down tight. Within a month, the thing was struggling. That’s when I learned — repotting is basically a whole science. Now I know how to do it right, and my plants actually look better after the move.
The good news? The rules are simple and easy to remember. The bad news? Messing it up can cost you the plant.
When to repot
The best time to repot is spring, when plants are waking up from their winter rest. Only repot in fall or winter for emergencies (root rot, pests, etc.).
| Sign | What to Do |
|---|---|
| Roots are coming out of the drainage holes | Repot ASAP |
| Soil dries out super fast (every day or two) | Roots are cramped — needs more space |
| Plant has stopped growing | Soil might be depleted |
| Pot is visibly too small (plant looks top-heavy) | Time for a bigger home |
| Right after buying | Wait 2–3 weeks for it to adjust first |
What you’ll need
- New pot (1–2 inches wider than the old one)
- Drainage material (gravel, pebbles, or store-bought clay pebbles)
- Fresh potting mix (the right kind for your plant)
- Sharp knife or pruning shears
- Gloves
- Watering can
Step-by-step guide
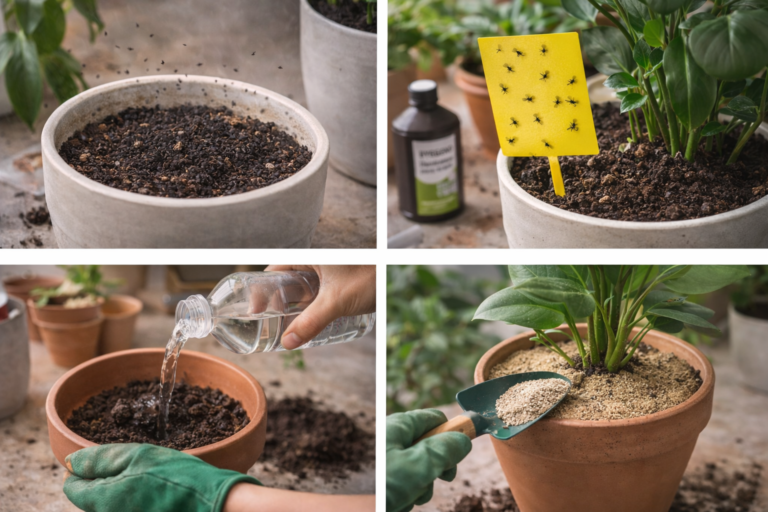
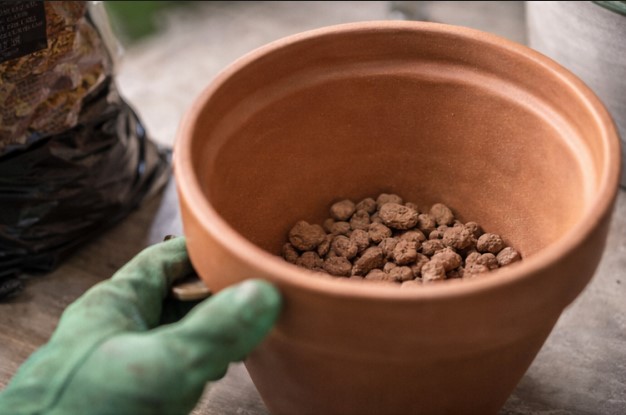
Step 1. Prep the pot and drainage
- Add a 1-inch layer of drainage material to the bottom of the new pot.
- Put a little fresh soil on top of that.
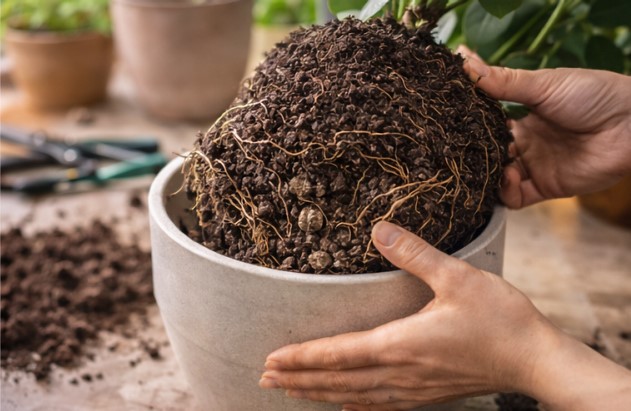
Step 2. Remove the plant from its old pot
- Water the plant the day before — it’ll slide out easier.
- Turn the pot sideways or upside down, supporting the base of the plant.
- Gently tap the sides to loosen the root ball.
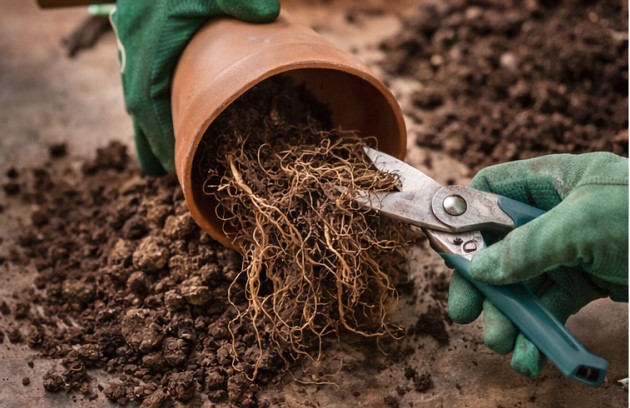
Step 3. Check the roots
- Gently shake off some of the old soil.
- Use sharp, clean scissors or a knife to trim away any rotten, dead, or mushy roots.
- Dust the cuts with crushed charcoal (activated charcoal pills work in a pinch).
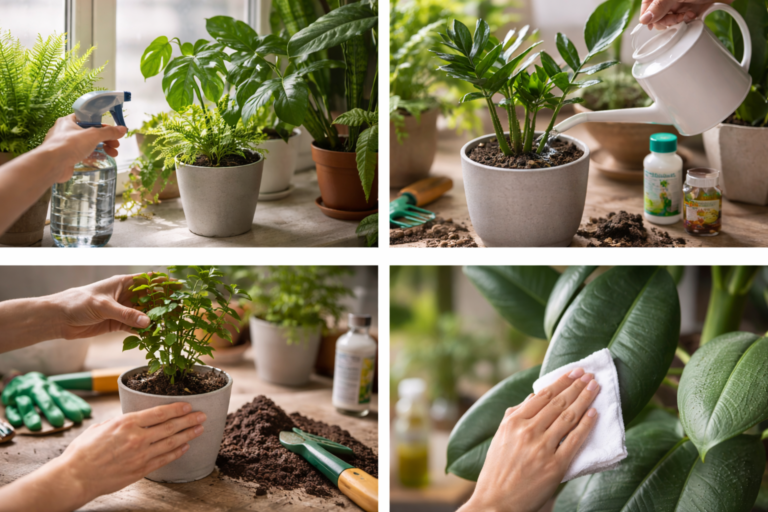
Step 4. Place it in the new pot
- Center the plant and spread the roots out.
- Add soil around the roots, tapping the pot to settle it in.
- Don’t bury the stem deeper than it was before — keep the soil line the same.
Step 5. Water and settle in

- Water lightly with room-temperature water.
- If the soil sinks, add a bit more.
- Keep the plant in a shady spot for a few days, and hold off on fertilizer for 2–3 weeks.
Pot size cheat sheet
| Plant Size | New Pot Diameter |
|---|---|
| Small (under 6 inches tall) | 1 inch bigger than the old one |
| Medium (6–12 inches) | 1–2 inches bigger |
| Large (over 12 inches) | 2–3 inches bigger |
| Succulents | Just slightly larger than the root ball |
What not to do
- ❌ Don’t go too big. A huge pot means soil stays wet too long = root rot.
- ❌ Don’t use heavy garden soil. It suffocates the roots indoors.
- ❌ Don’t drown it right after repotting. Light watering is enough.
- ❌ Don’t fertilize for at least a month. Fresh soil has nutrients; fertilizer can burn tender new roots.
Prevention tips
- Repot on a schedule: young plants every year, mature plants every 2–3 years.
- Clean old pots with soap and water before reusing them.
- Keep freshly repotted plants out of direct sun for a few days — they’re stressed and need to recover.
The bottom line
A good repotting is like giving your plant a fresh start. The right pot, fresh soil, and a gentle touch will help your green friend thrive in its new home.
Tested on my own monstera: after moving it to a roomier pot with good drainage, it pushed out two huge new leaves in one summer.
How do you handle repotting? Got any tricks? Drop them in the comments!