Home cleaning, organization and lifestyle tips
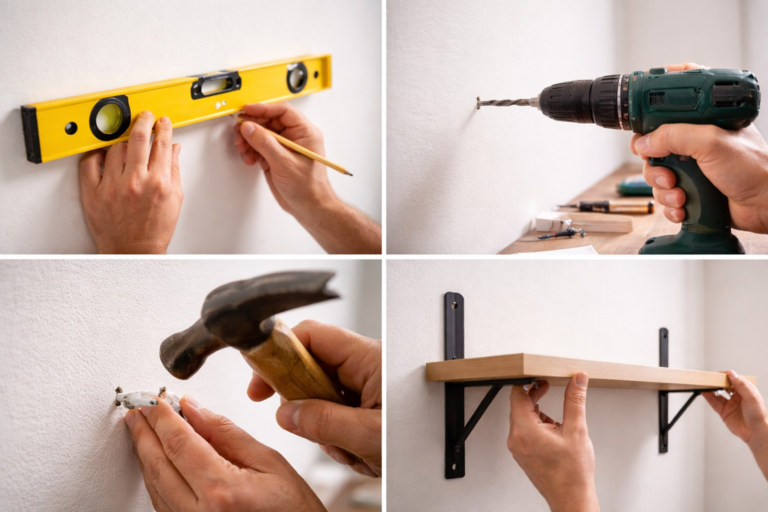
After I took down an old shelf, I was left with an ugly hole from a wall anchor. I thought it was permanent—like I’d have to redo the whole wall. Turns out, even those marks are easy to fix in about half an hour. Now there isn’t a single unnecessary hole in my apartment.
The good news? Anyone with a putty knife and some spackle can patch a hole. The bad news? If you do it wrong, the flaw will show right through your paint job.
What you’ll need
| Tool/Material | Purpose |
|---|---|
| Putty knives (small and wide) | To apply and smooth the filler |
| Spackle or joint compound | To fill the holes |
| Sandpaper (coarse and fine) | To smooth it out after drying |
| Primer | To help the paint stick |
| Paintbrush or roller | To apply primer and paint |
| Paint (matching your wall) | For the final touch |
| Painter’s tape | To protect the area around the repair |
Step-by-step guide
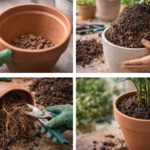
Step 1. Prep the hole
Clean out any dust, debris, or old anchor pieces from the hole. If it’s a bigger hole, lightly sand the edges to smooth out any loose bits.

Step 2. Prime it
Use a small brush to apply primer inside the hole and just around it. This helps the spackle bond to the wall. Let it dry—check the can for timing, usually a couple of hours.
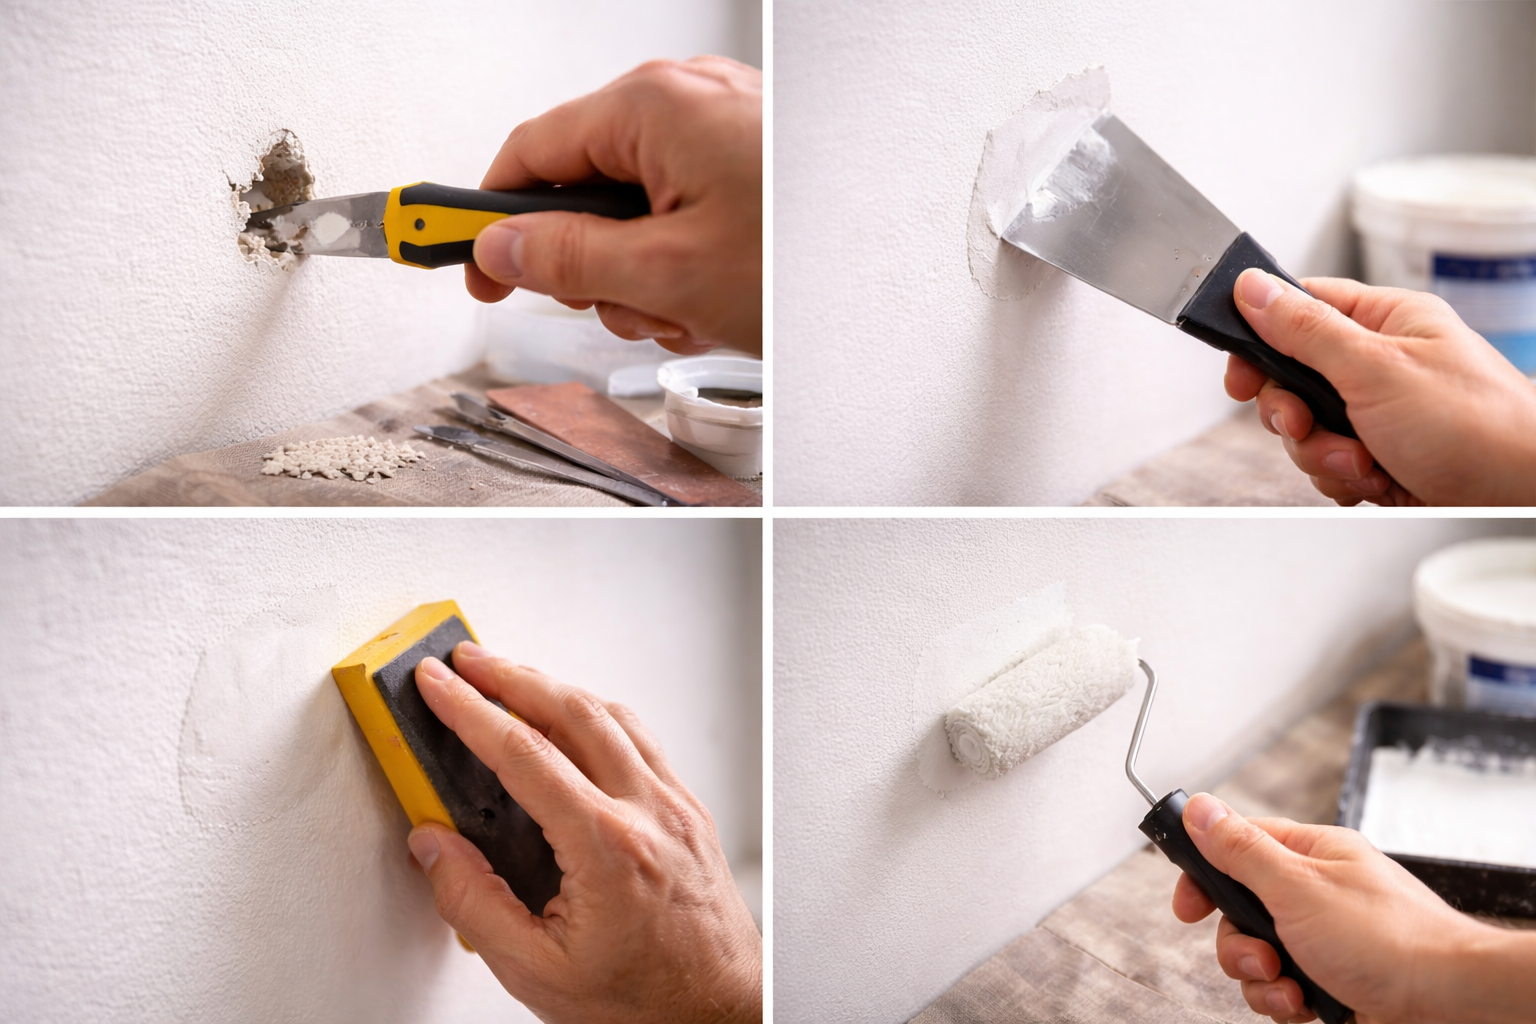
Step 3. Apply the filler
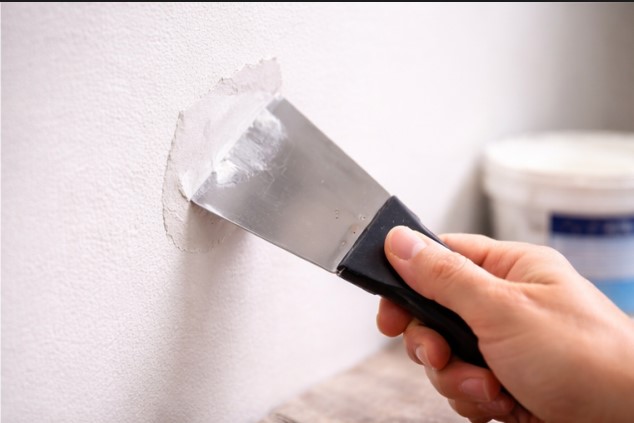
- For small holes (nail or screw size): Scoop a little spackle onto your small putty knife and push it firmly into the hole. Scrape off the excess by running the knife across in different directions.
- For medium holes: If it’s deep, apply the filler in thin layers, letting each layer dry completely before adding the next.
- For large gaps: You might need to stuff the hole with something first—a piece of drywall, some backing rod, or even expanding foam (trim the foam flush after it dries). Then cover it with spackle.
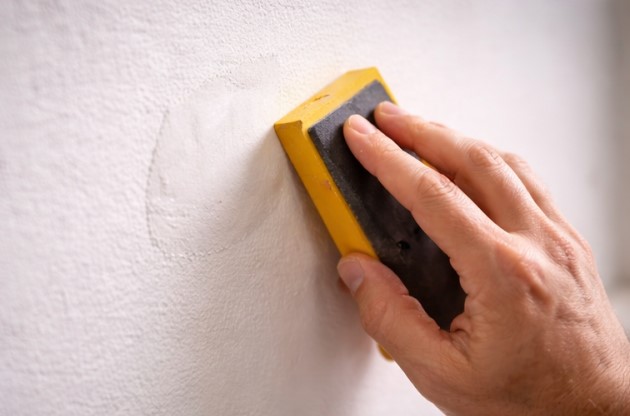
Step 4. Sand it smooth
Let the spackle dry completely. Check the label—it’s usually a few hours. Then sand it down. Start with coarser sandpaper to knock down high spots, then switch to fine grit for a smooth finish. Don’t press too hard, or you’ll gouge it.
Step 5. Prime again
Apply primer over the patched area. This keeps the paint from soaking in unevenly, so the finish matches the rest of the wall.
Step 6. Paint
Get paint that matches your wall color. If the wall is white, use the same paint you have for the room. Apply carefully—two thin coats are better than one thick one. Let each coat dry.
Repair cheat sheet by hole size
| Hole type | What to use | Notes |
|---|---|---|
| Small (under ½ inch) | Spackle or lightweight filler | One application is usually enough |
| Medium (½–2 inches) | Joint compound + mesh patch tape | Apply in thin layers, tape helps prevent cracking |
| Large gap (around pipes, trim) | Expanding foam + spackle | Let foam dry, trim, then cover with spackle |
| Big hole (over 4 inches) | Drywall patch + joint compound | Cut a patch, secure it, tape seams, then mud |
What not to do
- Don’t apply a thick layer of filler all at once—it’ll crack as it dries.
- Don’t sand without eye and lung protection—that dust is super fine.
- Don’t paint without priming—the patch will show through as a dull spot.
- Don’t use regular wall paint on unprimed patches—it won’t stick right.
How to avoid future holes
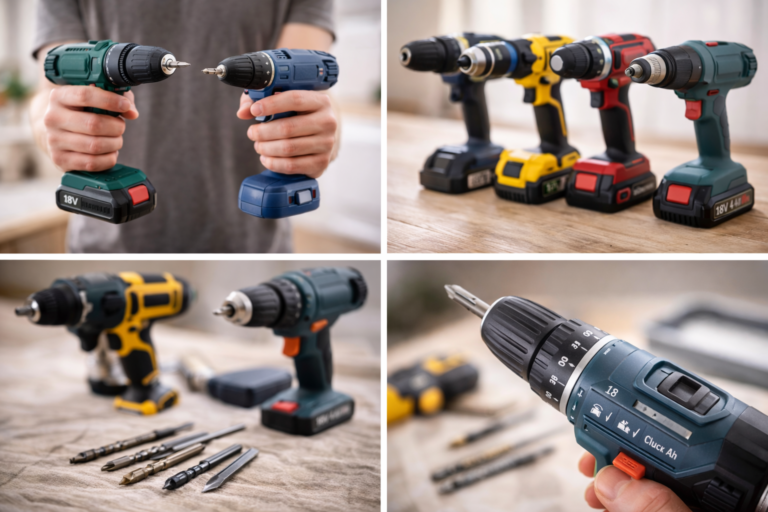
- Before you drill, ask yourself if you really need to. Sometimes there’s a better spot or a no-drill alternative.
- Use good-quality anchors and screws that don’t destroy the wall when you remove them.
- When taking down shelves or hardware, go slow so you don’t rip out chunks of drywall.
The bottom line
Patching a hole is simple. Prep it right, use the right filler, and finish with primer and paint—and no one will ever know the hole was there.
Tested on my own kitchen wall: after I filled all the holes from old shelves, the wall looked brand new.
Ever had an ugly hole ruin the look of a room? How did you fix it? Share your stories in the comments!