Home cleaning, organization and lifestyle tips
Introduction
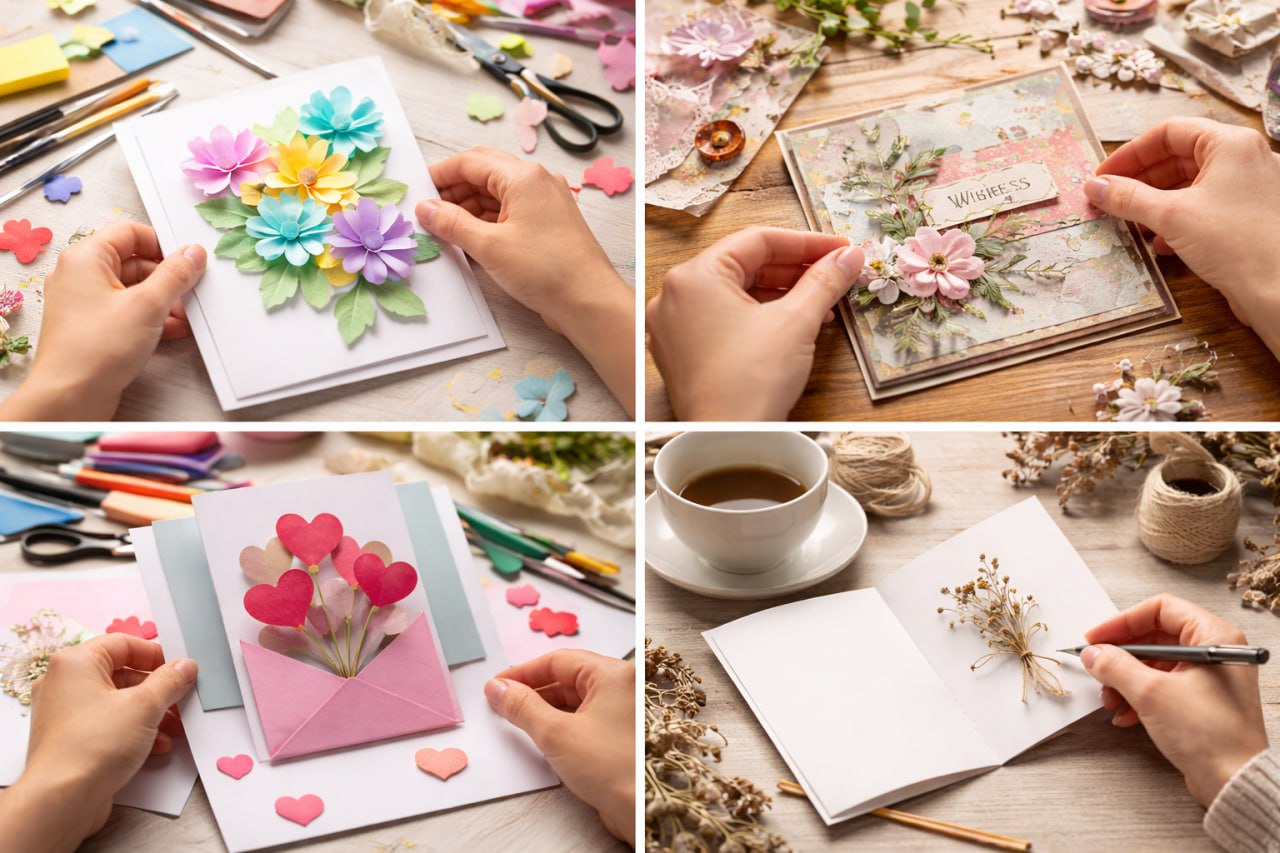
In the age of text messages and e-cards, a handmade greeting card means so much more. It carries warmth, time, and imagination. My daughter once made me a card out of cardboard and buttons — I still have it. Since then, we’ve made cards together often, and it’s always a joy.
The good news? Anyone can make a beautiful card, even with zero crafting experience. The bad news? You need a little inspiration and a few simple supplies.
What You’ll Need
| Material | Purpose |
| Cardstock or thick paper | The card base |
| Colored paper, scrapbook paper | For cutouts and layering |
| Scissors, craft knife | Cutting shapes |
| Glue (stick, liquid, or double-sided tape) | Sticking things down |
| Ruler, pencil | Measuring and marking |
| Embellishments (ribbons, buttons, beads, stickers) | Decorating |
| Markers, pens, paints | For messages and drawings |
5 Easy Card Ideas
Idea 1. Simple Cut-and-Paste Card
The easiest technique. Great for kids and beginners.
How to make it:
- Fold a piece of cardstock in half — that’s your base.
- Cut simple shapes from colored paper (hearts, flowers, circles).
- Arrange them on the front and glue them down.
- Add a message with a marker or gel pen.
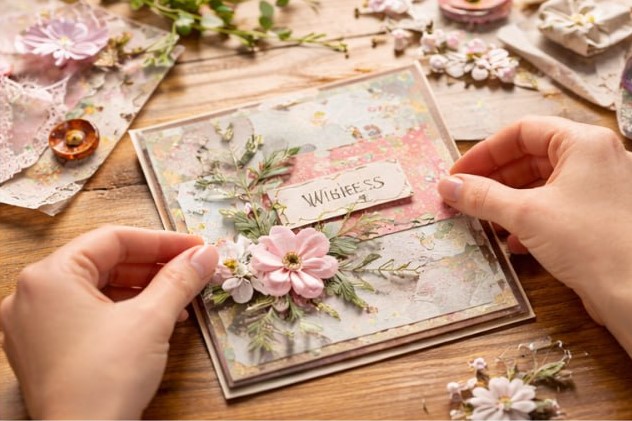
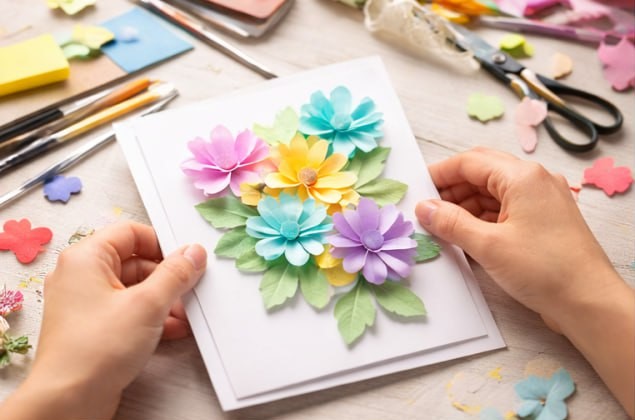
Idea 2. Scrapbooking Style Card
Use patterned paper, die-cuts, stickers, lace — whatever you have.
How to make it:
- Prepare your base.
- Glue down a background layer of decorative paper.
- Layer on photos or cutout images.
- Embellish with ribbon, buttons, or paper flowers.
- Write your greeting inside (or on a separate tag).
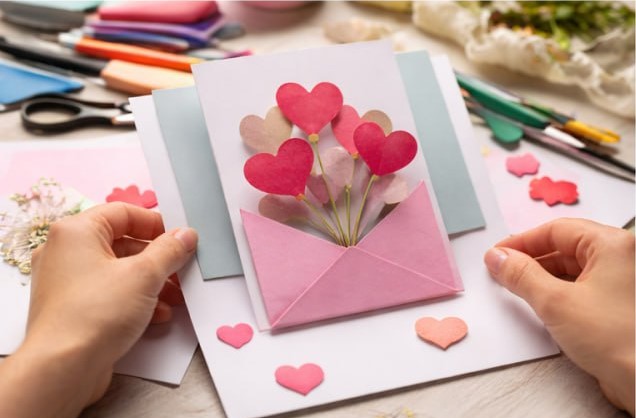
Idea 3. Pop-Up Card
A 3D element pops up when the card opens.
How to make it:
- Cut out a shape from cardstock (like a tree, heart, or flower).
- Make two small cuts on the fold line of your base.
- Glue the shape so that it stands up when the card is opened.
- Close the card to make sure it folds flat.
Idea 4. Quilling Card
Rolled strips of paper create delicate designs.
How to make it:
- Cut paper into strips about ⅛ inch (3–5 mm) wide.
- Roll them tightly around a toothpick or quilling tool, then let them loosen into coils.
- Pinch the coils into shapes (teardrops, squares, etc.).
- Arrange and glue them onto your base.
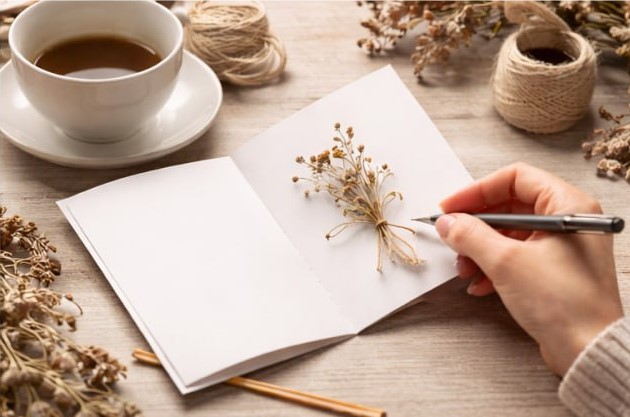
Idea 5. Minimalist Card
Just a few words and a tiny accent. Clean, modern, and elegant.
How to make it:
- Use a solid-color base.
- Write a simple greeting in a beautiful font (or print it out and glue it on).
- Add one small detail — a single flower, a thin ribbon, a dot of gold.
Card Ideas by Occasion
| Occasion | Recommended Style | Color Palette |
| Birthday | Scrapbooking, cut-and-paste | Bright, cheerful colors |
| Christmas | Pop-up, quilling | Red, green, gold, white |
| Valentine’s Day | Heart cutouts, quilling | Pink, red, white |
| Wedding | Minimalist, scrapbooking | White, cream, silver |
| Thank you | Any simple style | Soft pastels |
What NOT to Do
- Don’t use too much glue — it warps the paper.
- Don’t write the greeting on the front — that’s what the inside is for.
- Don’t make the card too heavy — it should close properly.
- Don’t rush — let glue dry before adding more layers.
Pro Tips
- Lay out all your materials before you start.
- Sketch your design on scrap paper first to avoid mistakes.
- Use a cutting mat to protect your table when using a craft knife.
The Bottom Line
Making a card by hand is simple, fun, and meaningful. It’s a chance to be creative and give a piece of yourself. Even a simple cut-and-paste card made with love means more than any store-bought one.
Tested in my own family: the cards we make together with the kids are taped to the walls and treasured forever.
Have you ever made your own cards? Share pictures in the comments!