Consejos de limpieza del hogar, organización y estilo de vida
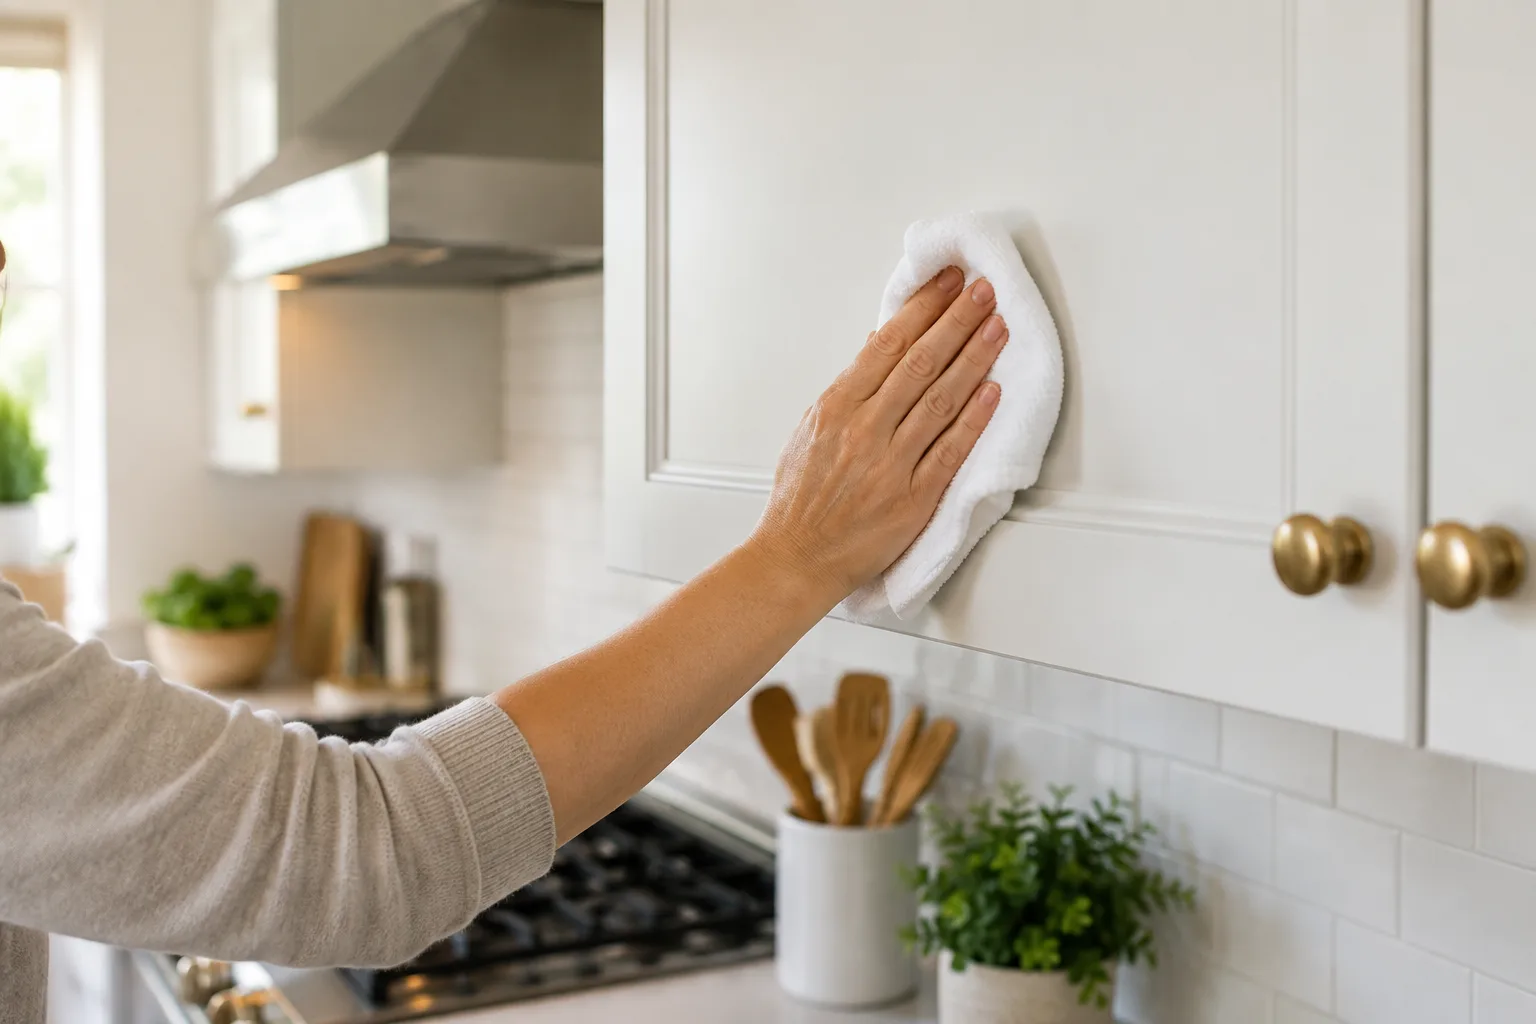
Short answer: use a soft lint-free or microfiber cloth that is only lightly damp, start with warm water, and use a mild cleaner only when the cabinet maker permits it. Work on a small area, then dry it immediately with a second clean cloth.
Kitchen grease is mixed with dust and moisture, but the finish matters more than the “strongest” remedy. The careful surface-first approach in our safe washing-machine cleaning guide and home water-saving guide is useful here too.
Identify the finish and test first
Painted wood, stained wood, laminate, thermofoil and high-gloss fronts do not all tolerate the same products. Read the maker’s care information when available. Test any cleaner on a hidden inside edge, wait for it to dry, and stop if color, sheen or texture changes.
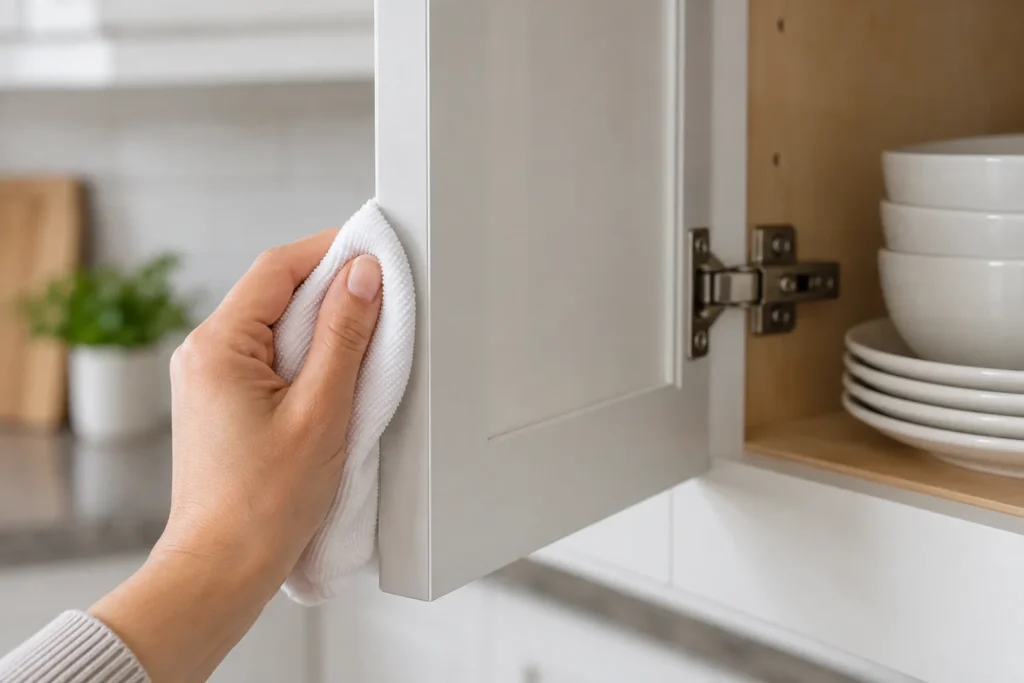
A safe routine for light grease
- Dust the door and handle with a clean dry cloth.
- Dampen a soft cloth with warm water and wring it out well.
- For residue, use a small amount of mild dishwashing liquid in water only if the cabinet instructions allow it.
- Wipe gently in the direction of the grain or finish, remove any residue with a clean damp cloth, then dry immediately.
Do not spray liquid directly on doors, seams, hinges or glass inserts. Moisture can enter edges and joints.
Stubborn spots, grooves and hardware
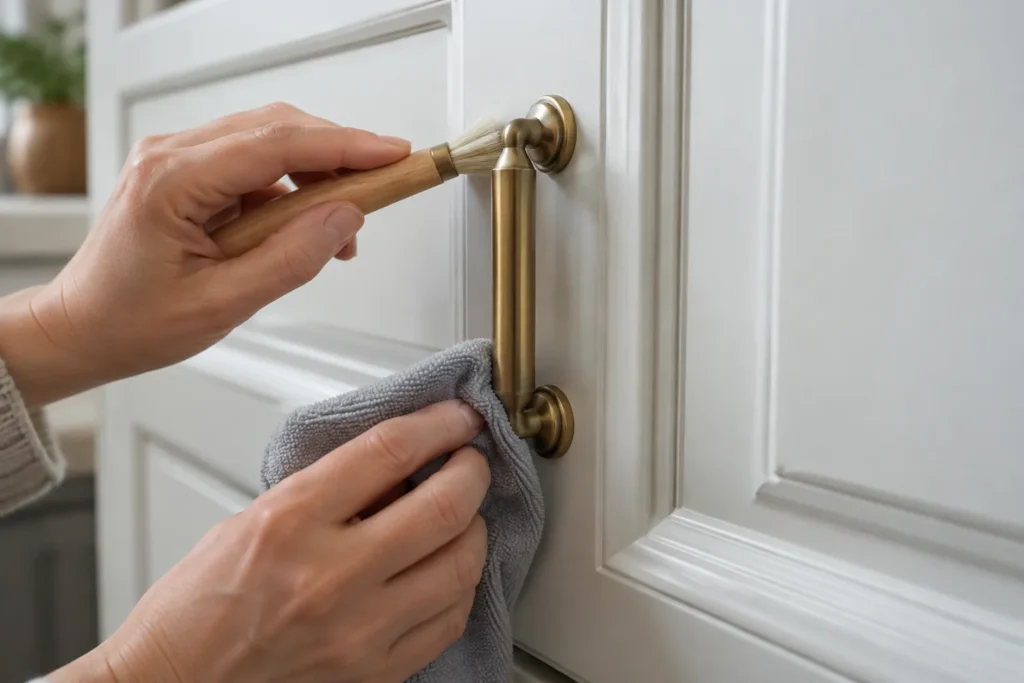
Use a compatible nonabrasive cabinet cleaner only as directed by its label and the cabinet maker. Apply it to the cloth, never flood the surface. A soft detailing brush can reach carved details and the base of handles; wipe and dry the area afterward.
What not to use
- Abrasive powders, scouring pads, steel wool or rough sponges.
- Bleach, ammonia, acetone, paint thinner, strong solvents or chemical mixtures.
- Oven cleaner, which can damage cabinet finishes.
- Excess water or vigorous rubbing, especially on high-gloss, laminate and wood fronts.
Repeated stickiness, lifting edges, swelling, discoloration or a failed finish is a repair issue rather than a signal to use a stronger cleaner. Ask the cabinet maker or a qualified finisher for advice.
Prevent buildup
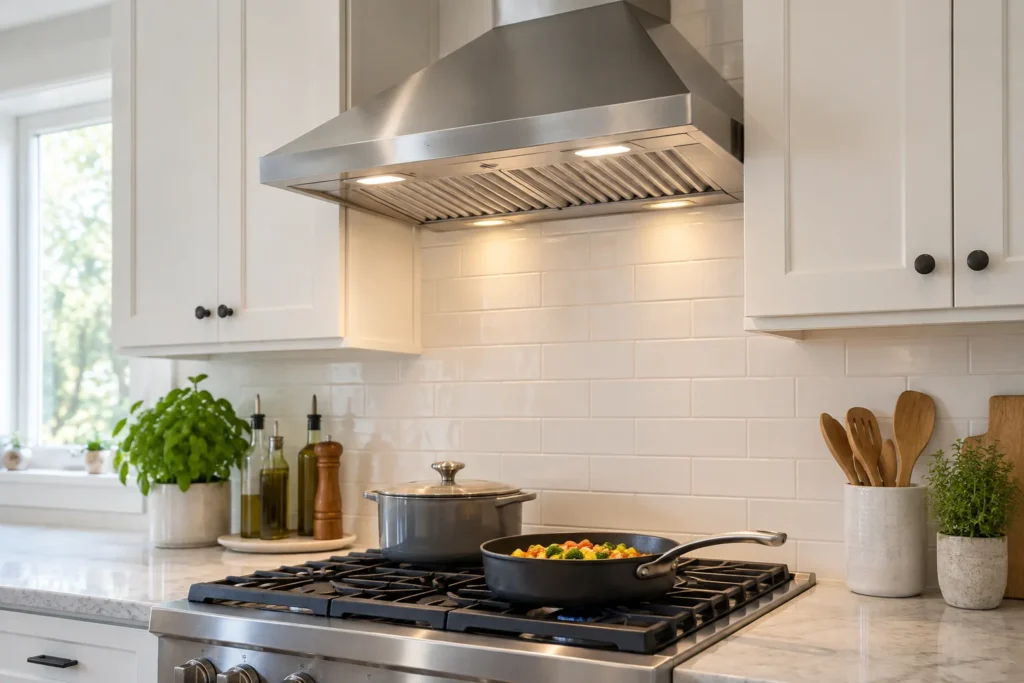
Run the extractor while cooking, clean its filters as directed in our range hood cleaning guide, and wipe nearby cabinet fronts regularly with a dry or lightly damp cloth. Deal with spills promptly and keep wet dish towels off cabinet doors. Consistent drying also limits moisture problems discussed in safe bathroom mold-cleaning guide.
Sources
- MasterBrand: care and cleaning
- KraftMaid: cabinet care
- Wood-Mode: care instructions
Elija el método según el material
Las instrucciones del fabricante del mueble son la referencia principal. La madera teñida suele requerir algodón suave, mientras que el laminado y el alto brillo se protegen mejor con microfibra limpia. Si no conoce el acabado, empiece con un paño muy bien escurrido y agua tibia. Evite el sol directo: la superficie puede secarse antes de retirar residuos.
Orden para una zona pegajosa
- Retire primero el polvo para que no raye al limpiar.
- Trabaje una sección pequeña con paño apenas húmedo.
- Si queda marca, aplique en el paño un producto no abrasivo permitido y repita la prueba.
- Retire residuos, seque y pase a la siguiente zona.
Cuándo detenerse
No siga frotando si cambia el color, se apaga el brillo o la superficie queda pegajosa. Bordes hinchados, lámina despegada, pintura agrietada o chapa suelta requieren consejo del fabricante o un reparador.
Lista rápida
- Paños suaves limpios y otro paño para secar.
- Pruebe todo limpiador nuevo en un lugar oculto.
- Mantenga el líquido lejos de juntas, bisagras y bordes.
- Use el extractor y limpie salpicaduras pronto.